Sign-up
A new member goes from first open to an active plan — profile, linked banks, confirmed income, needs and wants, then membership.
This walkthrough is the Expo experience. The web sign-up produces the same server state and then hands the member the app; it has no notifications step and ends on Get the App instead of the dashboard. Invited joiners skip income through subscribe and inherit the owner's budget.
Welcome
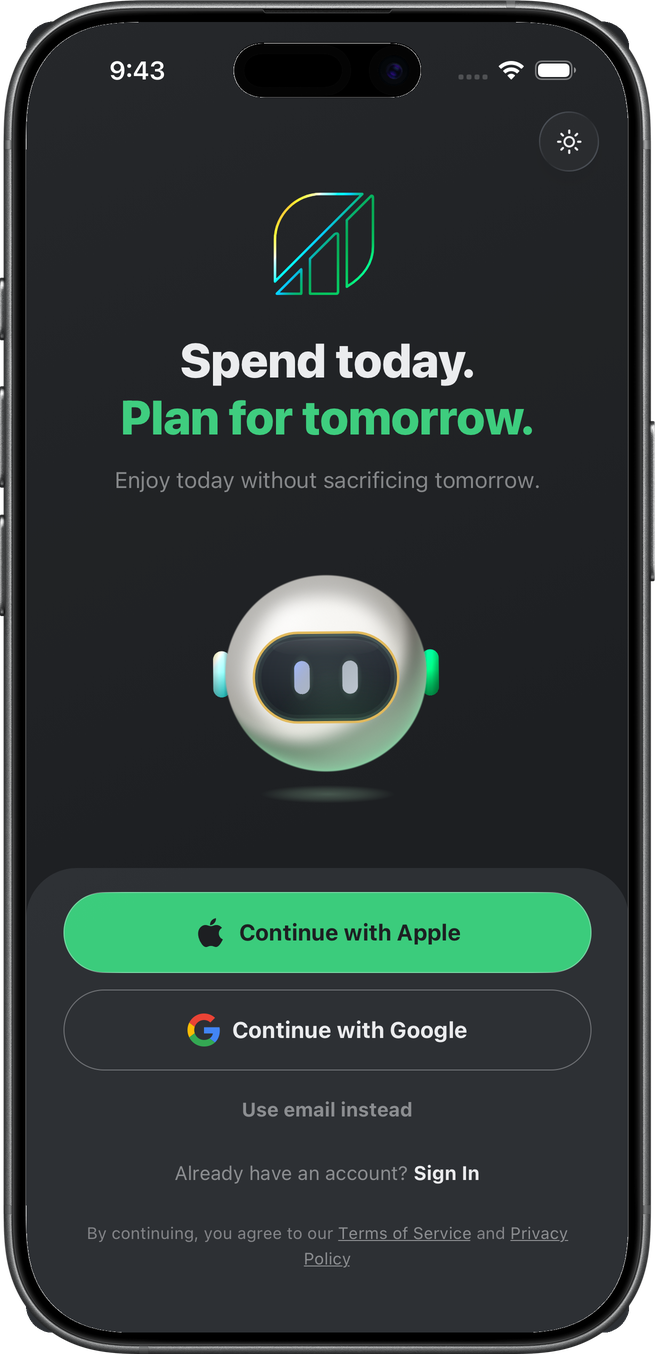
The first screen is the brand lockup: prism leaf, Benjamin, and “Spend today. Plan for tomorrow.” Apple and Google lead; email is demoted to “Use email instead.” Existing members tap Sign In.
Each social button only appears when that provider is configured. Locally Apple is usually missing because it refuses http:// return URLs, so the sheet is Google plus email.
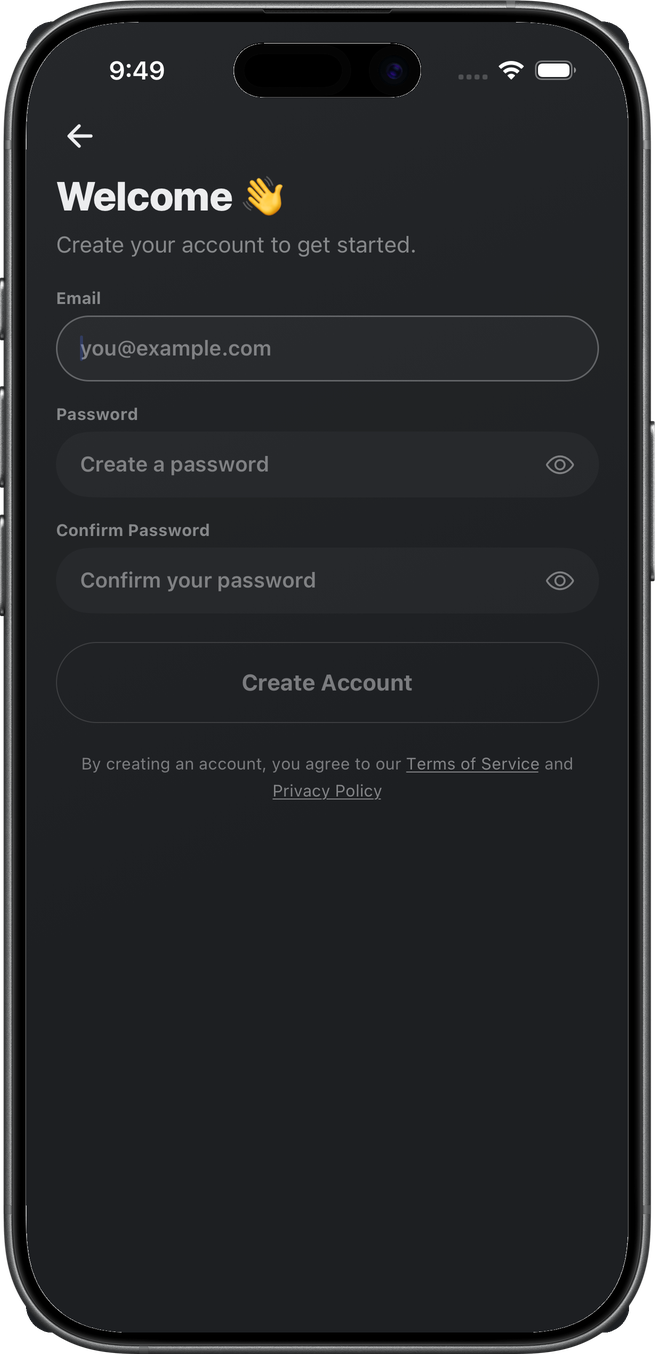
Email sign-up
Choosing email collects address, password, and confirmation. This creates the Supabase Auth account. The member has a login, not a plan yet.
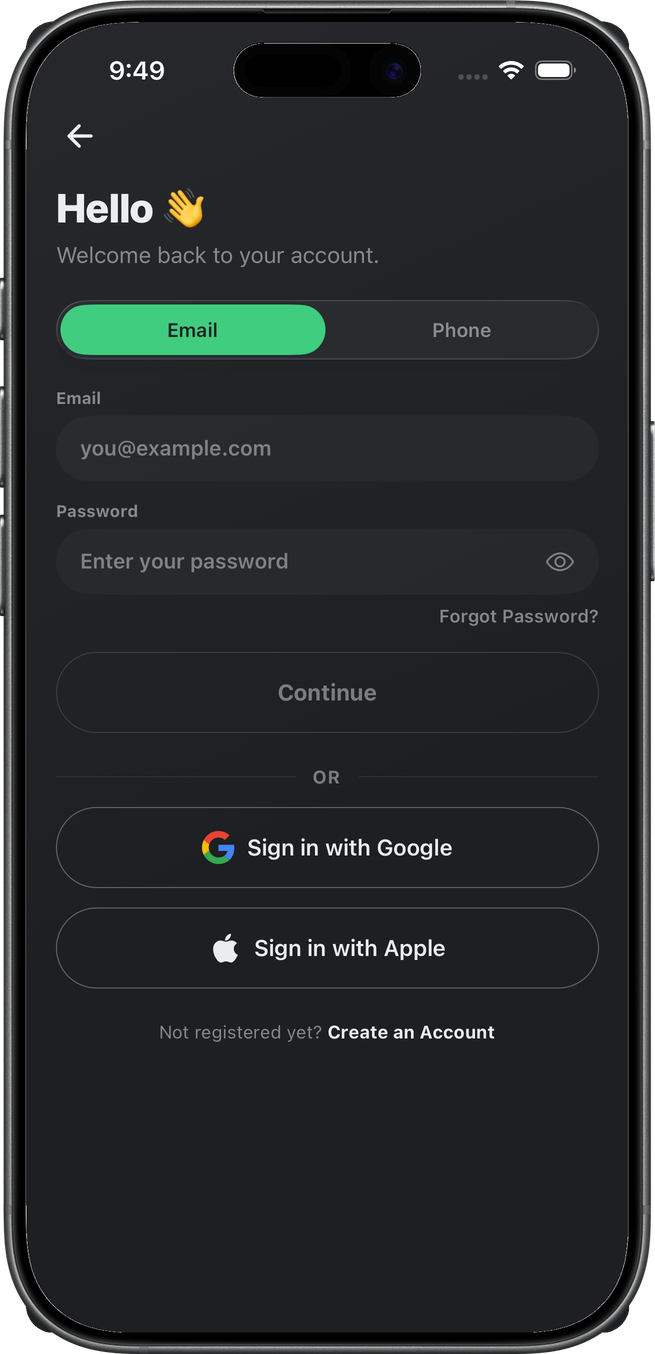
Sign-in
Returning members land on a segmented Email / Phone form. Email uses a password; phone sends a one-time SMS (it will not create a new account from a mistyped number), with the one-time-code disclosure and Privacy / Terms links under the Send Code button. OAuth sits below the form behind an OR divider — on welcome, social leads; once someone chose credentials, the form is the subject.
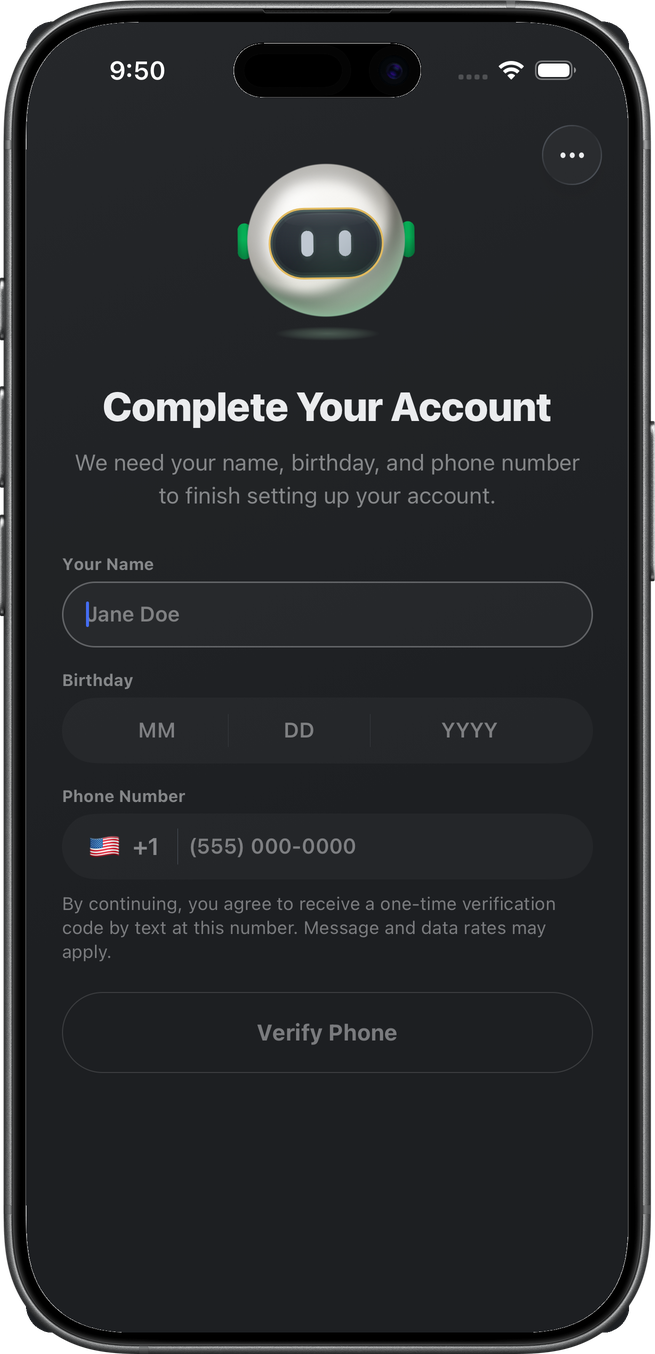
Complete account
After a new account exists, the app asks for name, birthday, and phone. Birthday is three linked MM / DD / YYYY boxes; it is saved when possible and never blocks the step. “Verify Phone” sends the SMS code. The consent line under the field says tapping Verify Phone agrees to a one-time verification code from Wellthplan (one message per request, msg & data rates, Privacy and Terms links); it is the only text-message consent in the product. The public wording lives on SMS Consent & Opt-In.
If that number already belongs to another account, the step explains it and offers to jump into phone sign-in with the number prefilled.
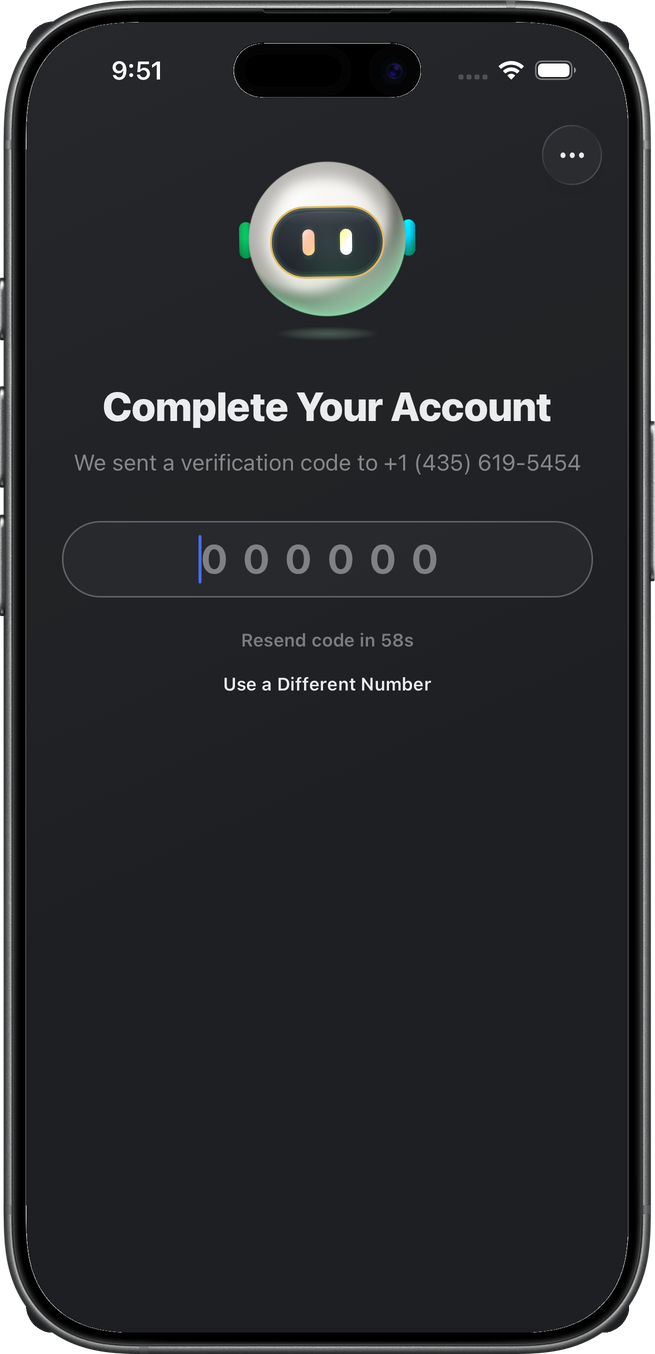
Verify phone
A six-digit SMS code confirms the number. The member can resend or use a different number. Once verified, the profile is written and the flow checks for pending invites. Invited people skip ahead to the intro; everyone else creates an organization next (a spinner — no screenshot).
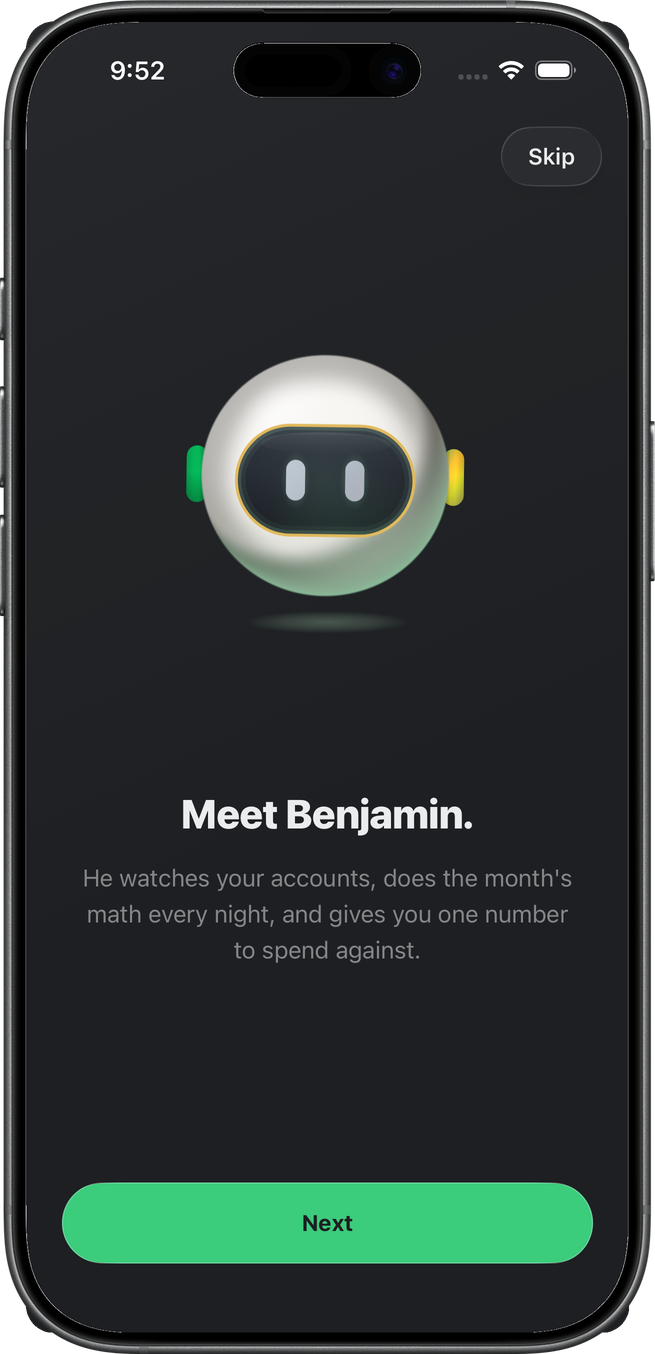
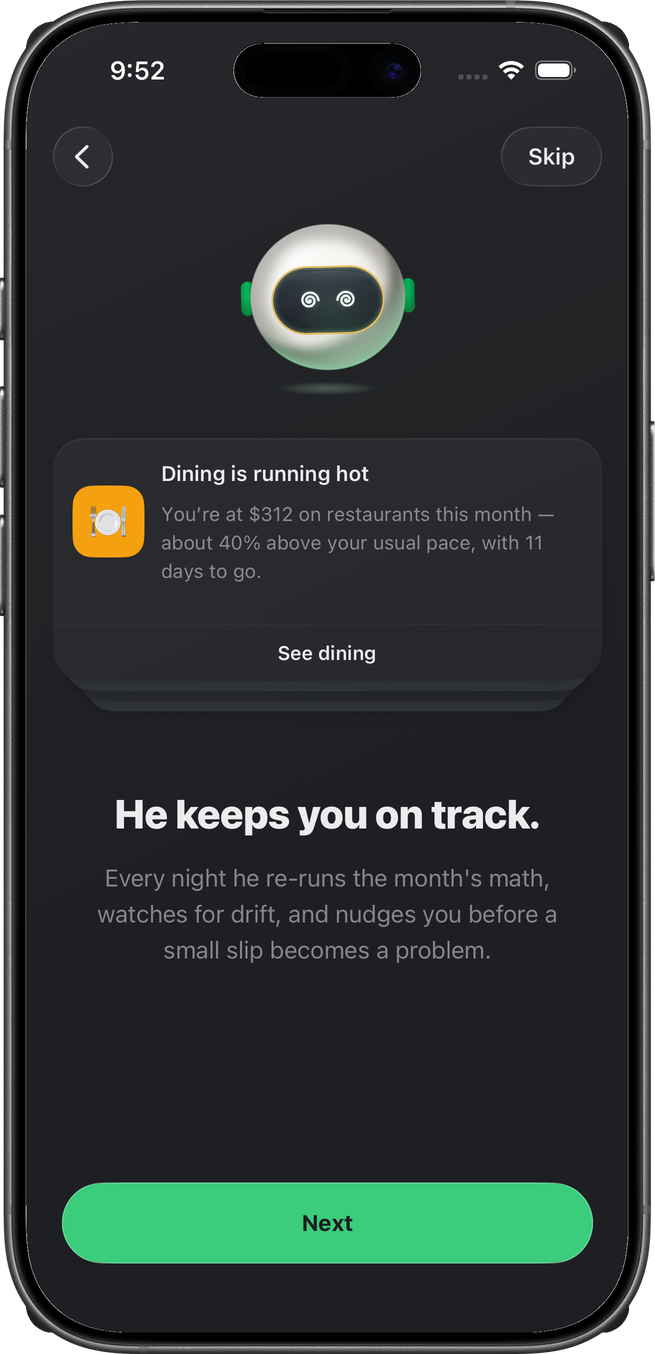
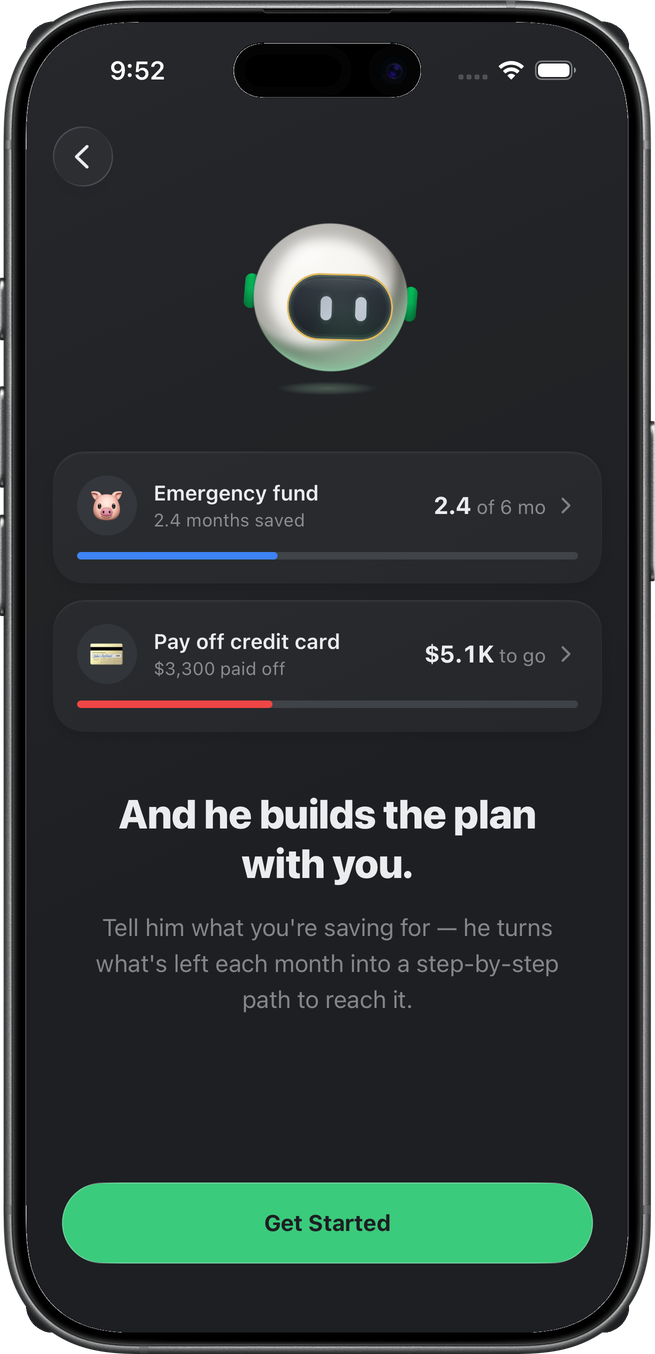
Intro carousel
Three skippable slides introduce Benjamin: he watches accounts, keeps the month on track, and builds the plan. The CTA reads Next until the last slide, where it becomes Get Started.
Pending invites, if any, appear after this. Someone invited to an existing plan can join it or start their own. With no invites the step forwards itself to bank linking without rendering.
Link accounts
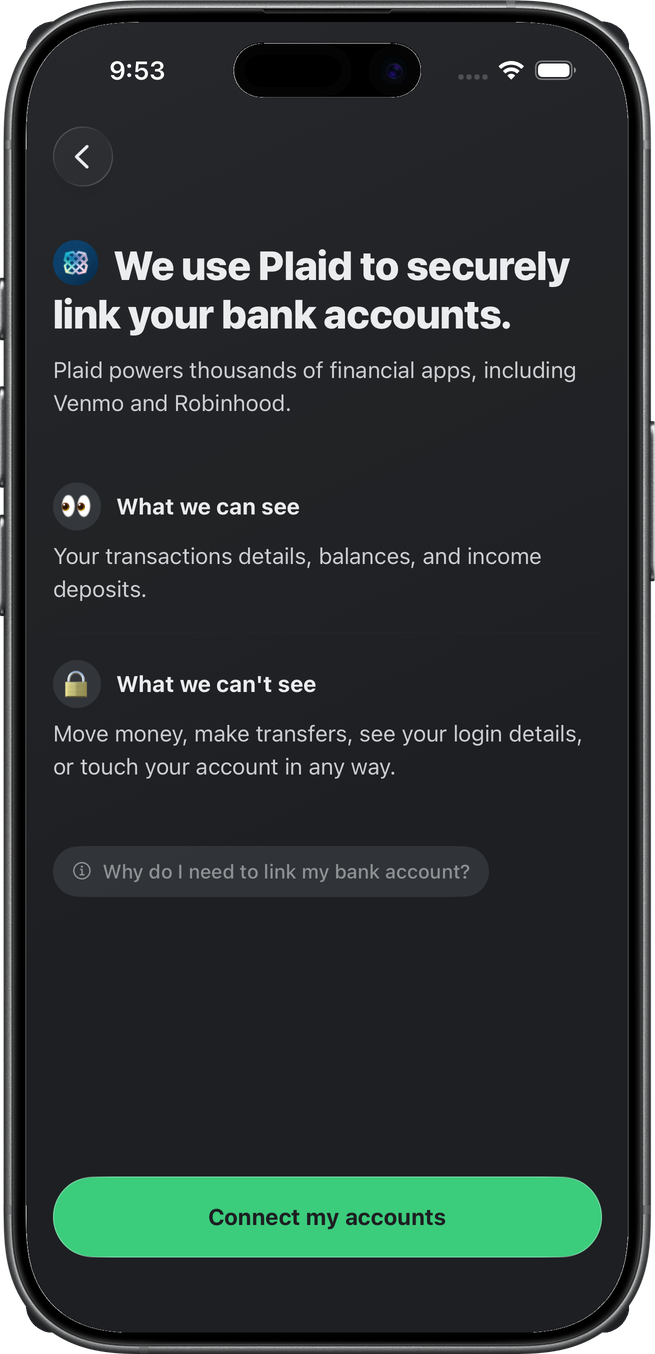
A trust screen names Plaid in the headline and lists what the connection can and cannot see. “Why do I need to link my bank account?” opens a sheet with the reasons and a note that accounts can be disconnected later. Continue opens Plaid Link. On iPhones with FinanceKit, a “Connect Apple Wallet” link (with the Apple mark) under the CTA opens the Apple Wallet half sheet instead — an Apple-only connection counts as a linked account, and the same link reappears on the connected list next to “Link another account.”
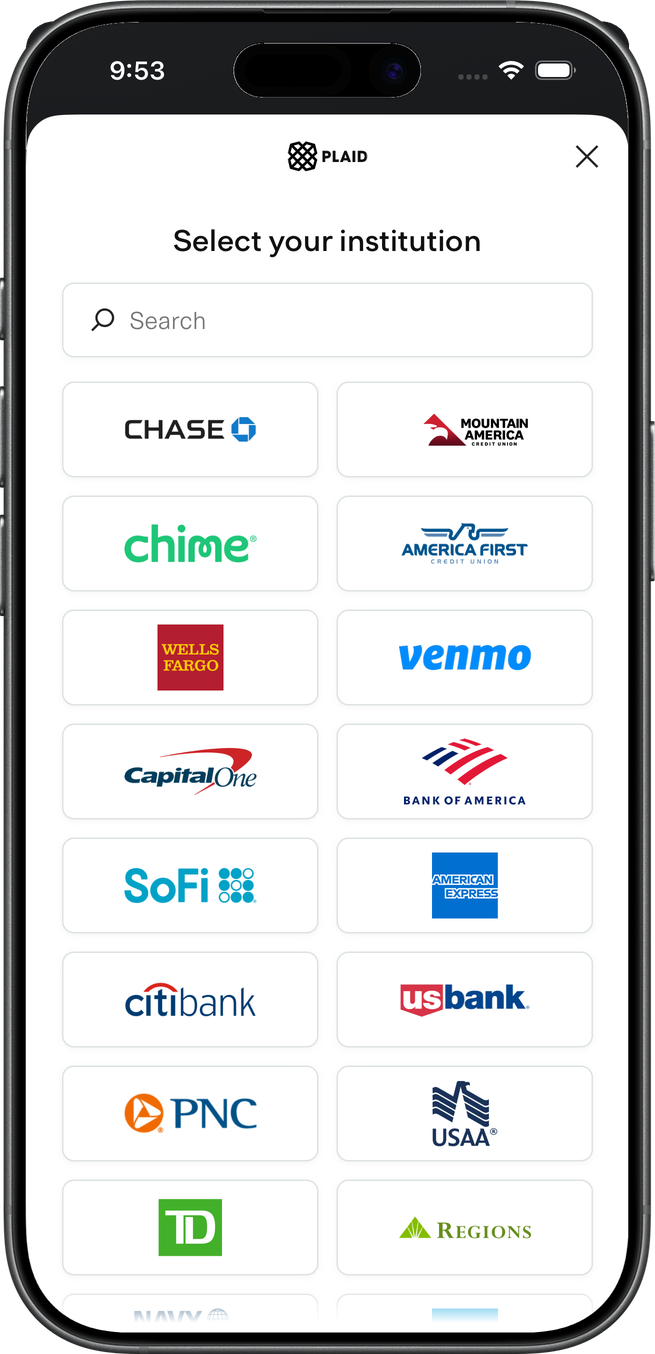
Plaid
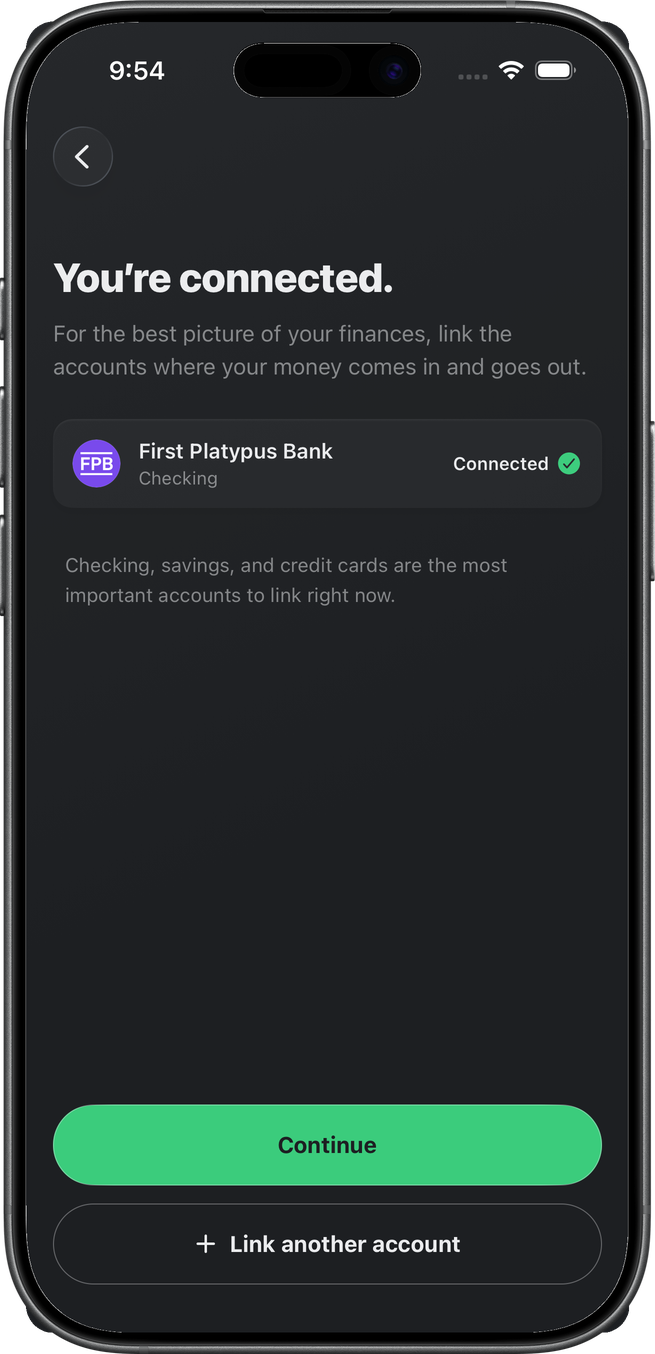
The institution picker is Plaid Link. After a successful connection the app shows “You’re connected,” with the linked accounts grouped by institution — logo, name, and how many accounts came with it. Tapping a group expands it to the individual accounts, each with its kind and the last digits of its account number. Below the list it offers to link another. Owners continue into notifications; invited joiners finish here and inherit the owner's budget.
Notifications
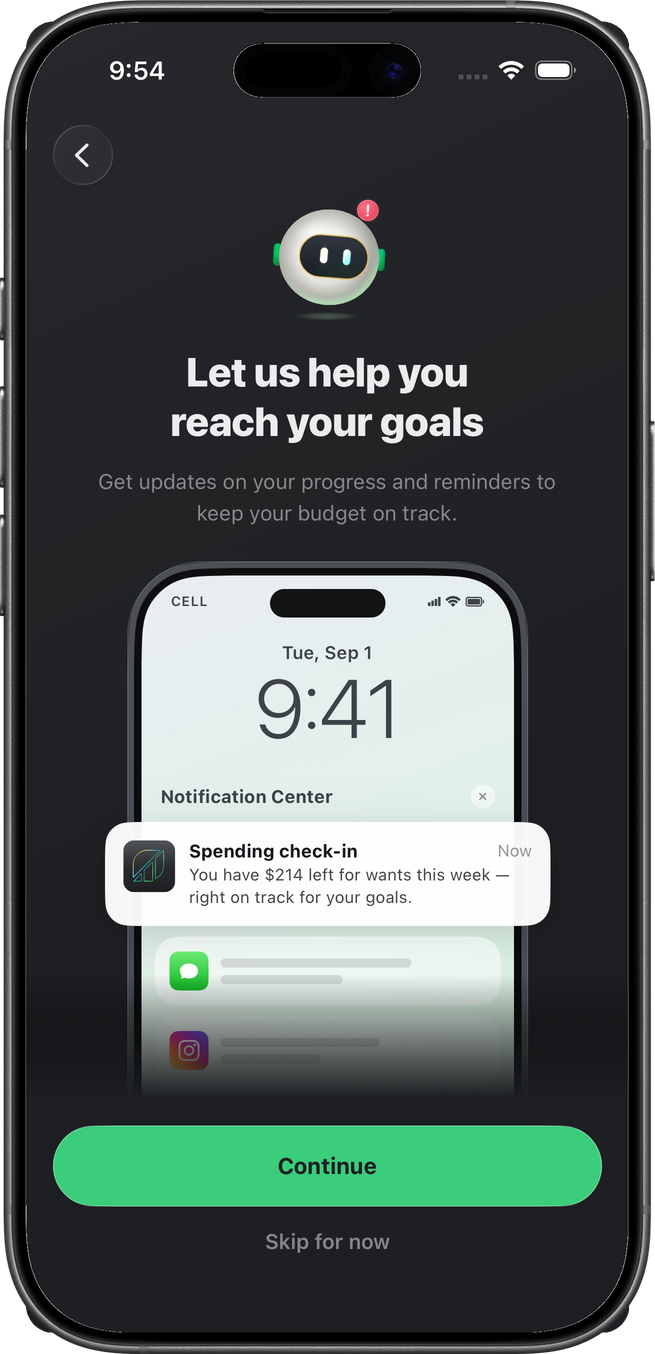
Expo-only. The app primes push permission after banks are linked, with context before iOS or Android asks. Web skips this step — web push is a different permission, and web sign-up already ends by sending people to the mobile app.
This is also where invited joiners can complete: Continue stamps onboarding done instead of sending them into income and budgets they do not own.
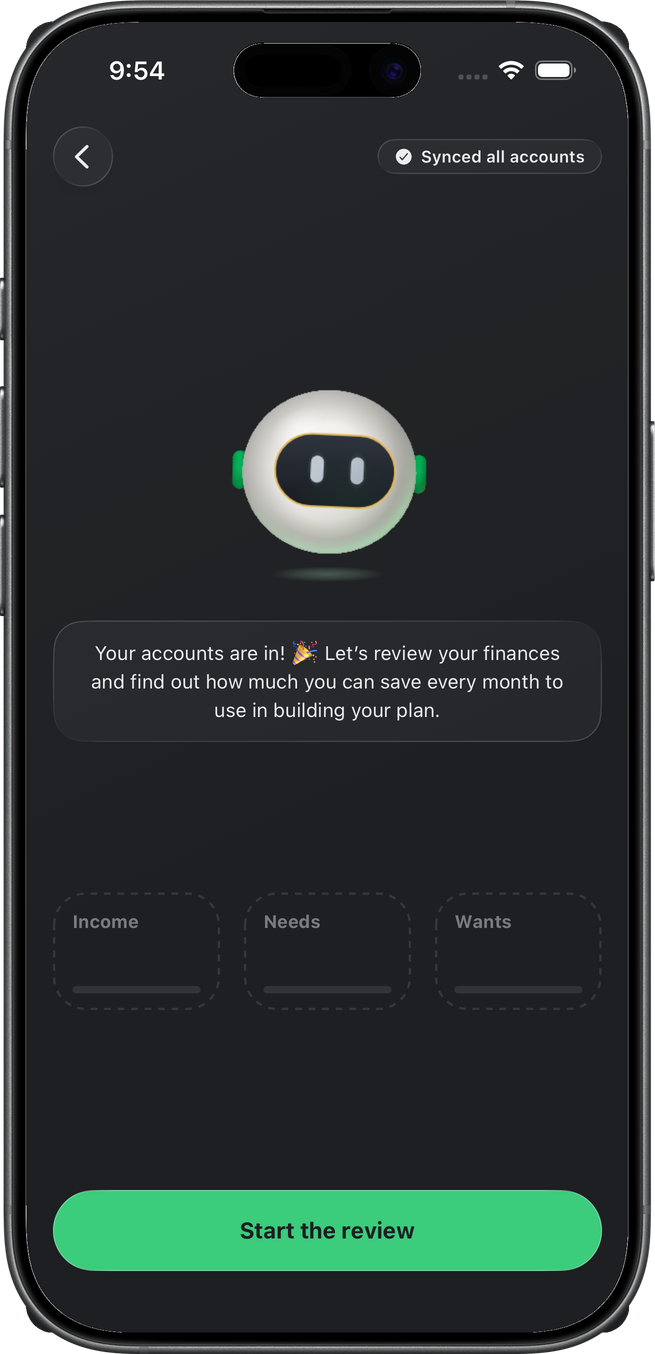
Accounts synced
Owners enter gauge setup through a sync gate. Benjamin holds the stage while linked accounts finish landing. When the pull is ready, the copy flips to the celebration beat and the CTA becomes “Start the review.”
Confirm income
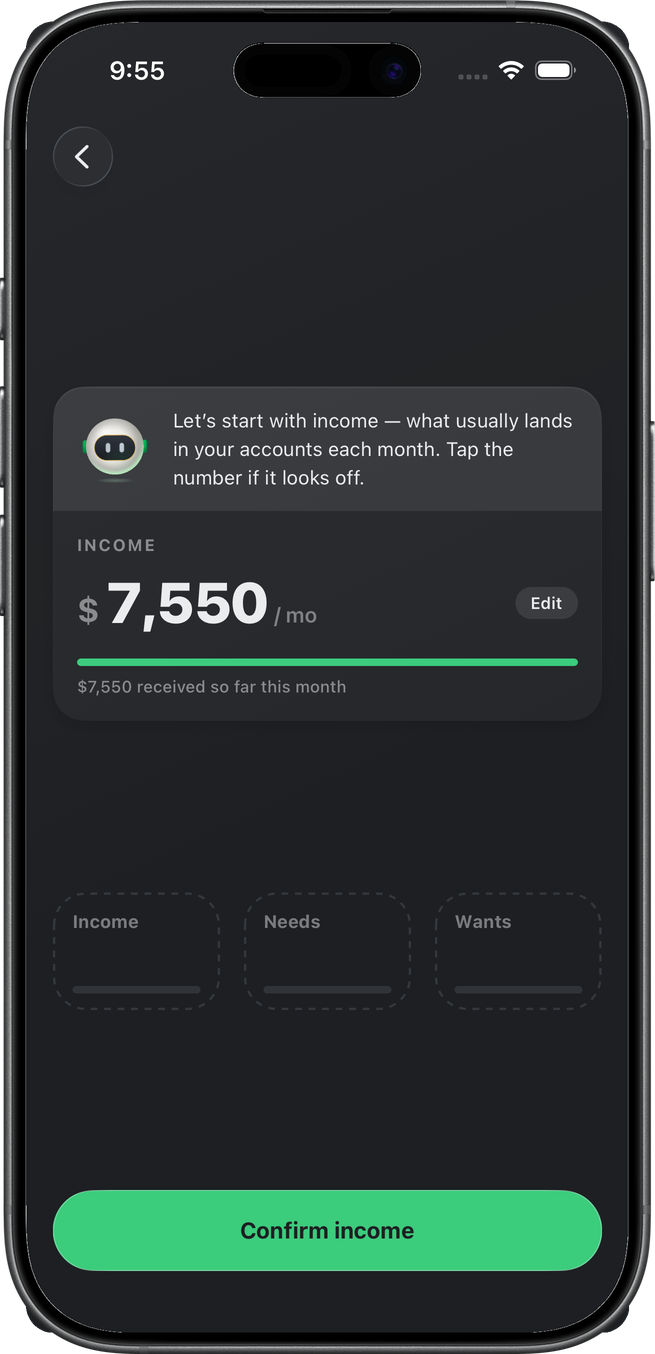
Benjamin asks the member to confirm monthly income. The card is labeled Estimated Income — a detected figure from linked deposits; tapping the number lets them type their own. A “What income’s included?” chip in the top corner opens a half sheet listing the deposits behind the estimate — grouped by month with a monthly total, each row carrying the bank account it landed in — and notes that transfers between the member's own accounts don't count. The chip does not appear on the manual path (no linked deposits to show). Confirming income unlocks default budgets for the next two sliders.
Needs and wants
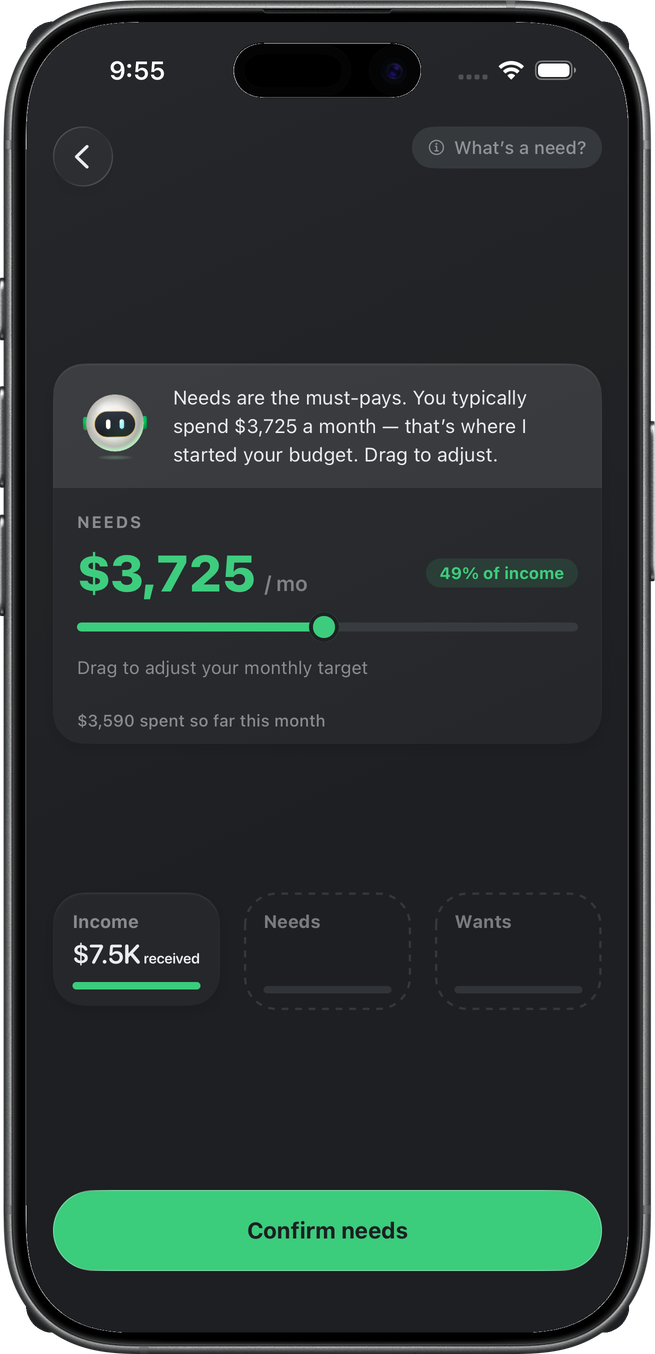
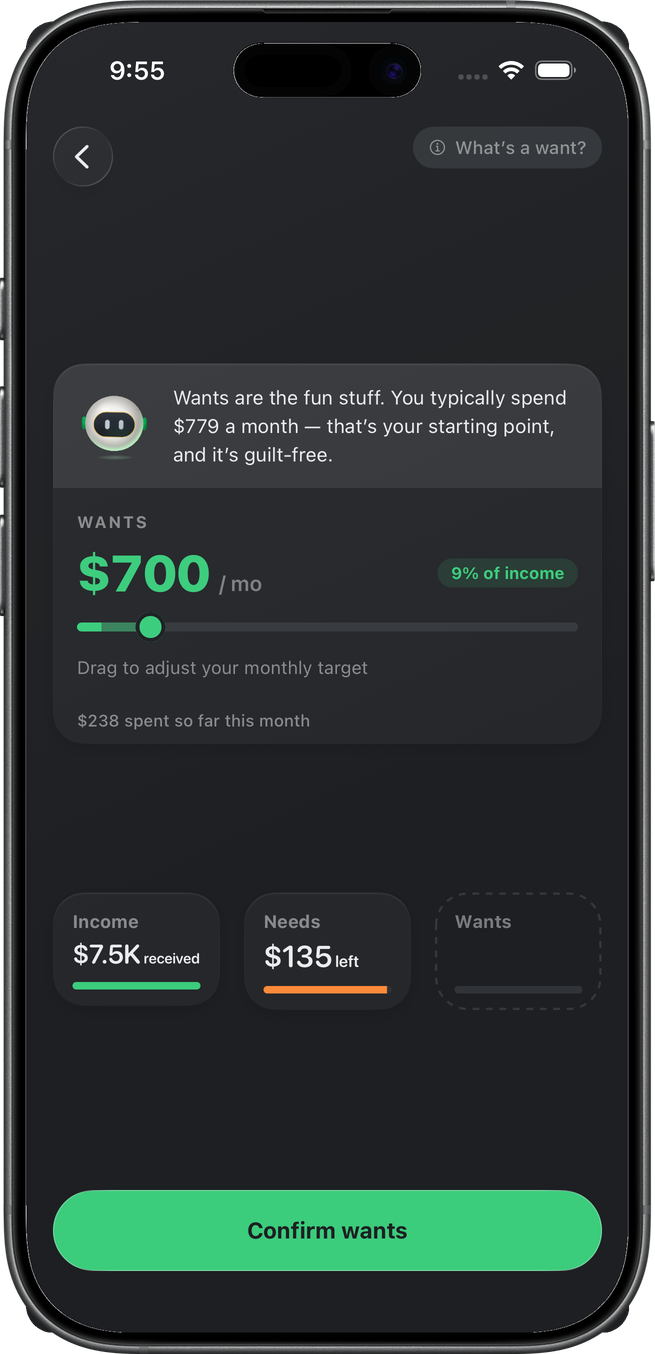
Two passes of the same slider. Needs are the must-pays (rent, groceries, utilities) and cannot drop below a floor from detected recurring bills. Wants are guilt-free spending. Each step has a “What's a need?” / “What's a want?” chip that opens the groups behind the number.
Safe to Spend
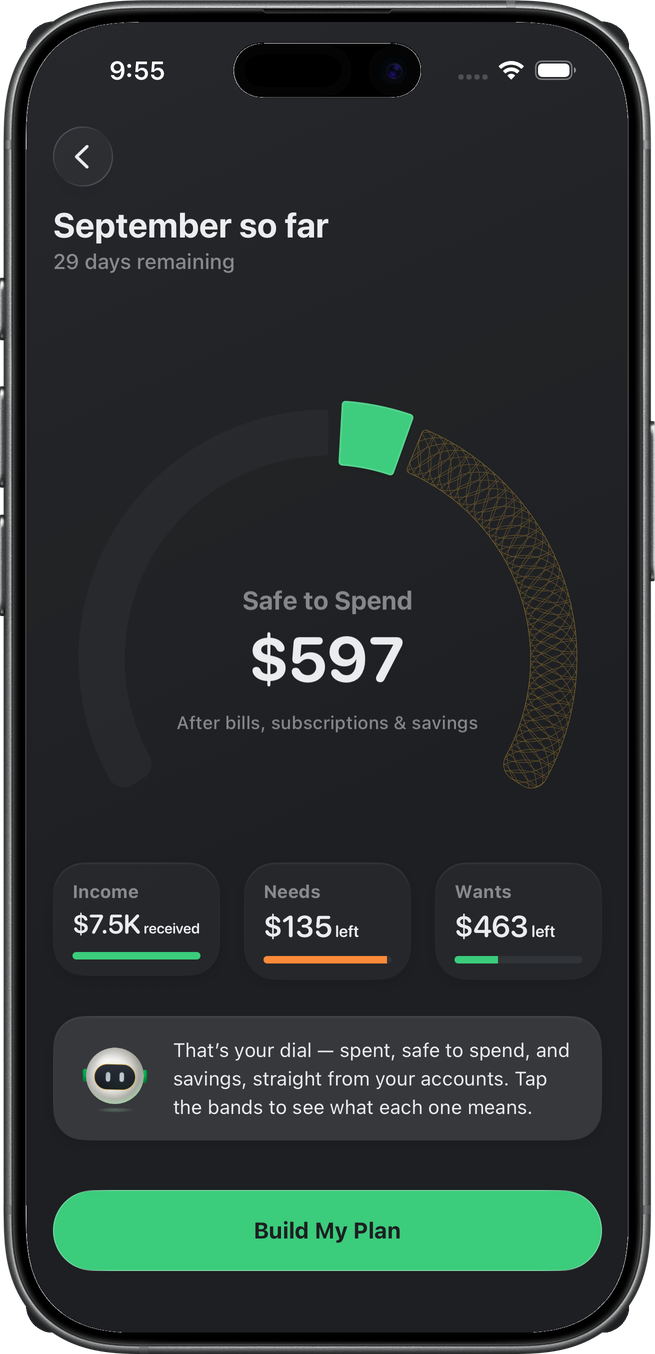
The Expo gauge intro shows the Safe to Spend gauge — spent, safe leftover, and savings — built from the numbers just confirmed. When Benjamin's personalized read of the month is still generating, the full-page syncing overlay (the same one the Plaid pull uses) holds the reveal with “Analyzing monthly inputs...” so his lines never swap mid-read (the manual path skips this — there is nothing to generate). “Build My Plan” continues to membership.
Subscribe
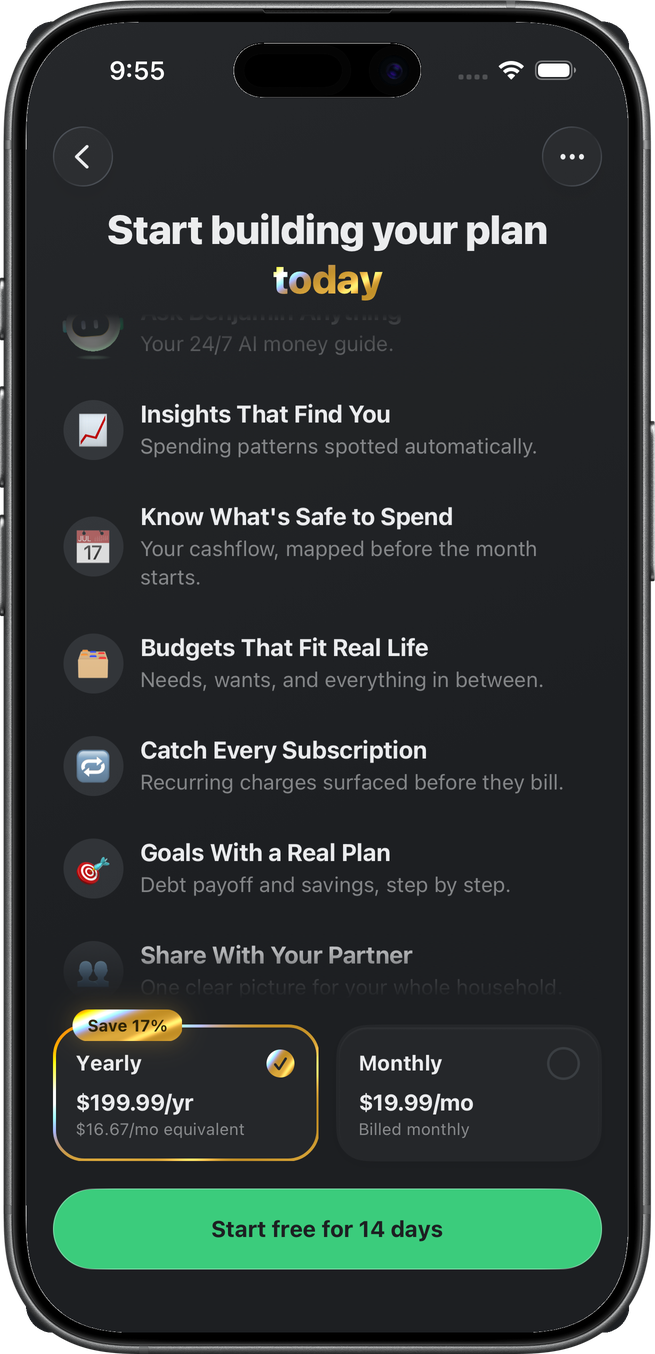
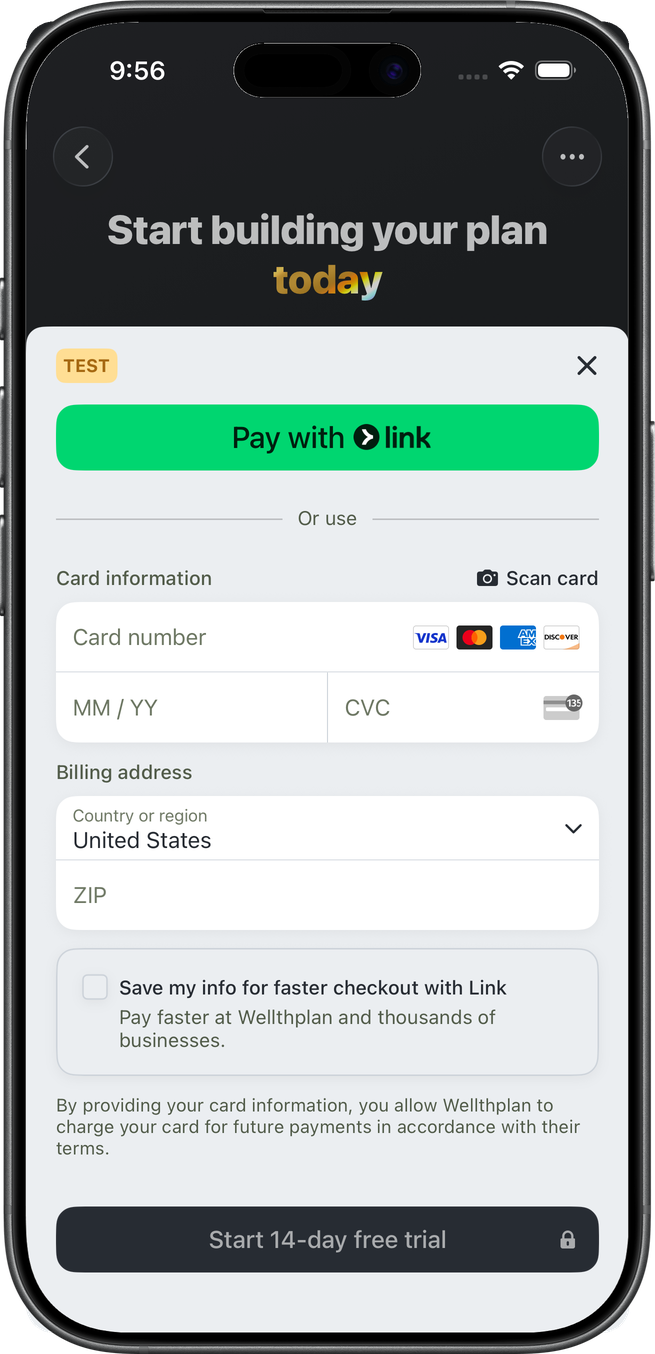
“Start building your plan” over a scrolling list of what membership includes. Trial length is 14 days, or 30 if a referral code is applied and the agent behind it holds an active membership. Annual or monthly; Expo opens the native Payment Sheet (web uses Stripe Checkout).
Done
When the subscription is confirmed, onboarding_completed_at is stamped and the member lands in the app. Web sign-up ends on Get the App instead — same plan, mobile as the product.
Agent and advisor registration is a different product story and is not part of this walk — see Agent Portal. Sign-ups that start from a unique link (an agent's invite, a gift claim, a plan invite) are the same walk wearing the sender's context; what changes is on Invite Links.